Product image annotations
Add Dimensions to an Image
Put a measurement arrow with a cm/inch label on a product photo, diagram, or listing image. You enter the measurement you already know, and the editor draws the arrow and writes the label — in one unit or both. Everything runs in your browser, and the finished image exports as JPG, PNG, or WebP.
What the finished result looks like
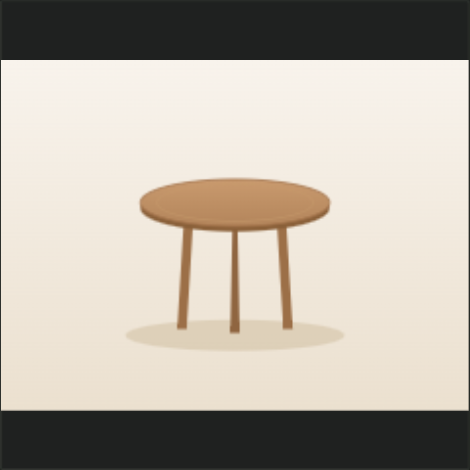
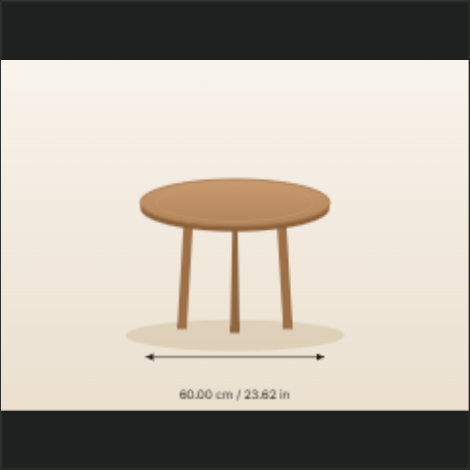
What this tool actually does
Adding dimensions here means drawing annotation arrows on top of your own image. Every arrow is draggable and independently styled: double-arrow heads, short vertical ticks, or a plain line; your choice of color and stroke weight. The label is a separate, movable text element, so it never fights the arrow for space.
You type the measurement itself — for example 60 with the unit set to cm. When dual-unit display is on, the label shows both values at once, converting between centimeters and inches for you: 60.00 cm / 23.62 in. Enter the value in inches instead and the label flips to inches first.
There is no limit to one arrow per image. Add a width arrow, a height arrow, and a depth arrow to the same photo, then drag each arrow and label until the annotation reads clearly. Labels can be rotated, resized, and flipped, and arrows work on collage tiles as well as on a single photo. When everything is placed, export the result at the canvas size you selected.
Three steps to a dimensioned image
- Upload your image.
Open the editor and load the photo you want to annotate. The file stays on your device for the whole process. - Add a dimension arrow.
Click Add dimension arrow, then type the measurement in cm or inch. Turn on dual-unit display to show both values in one label. - Export the annotated image.
Drag each arrow and label into place, pick JPG, PNG, or WebP, and download the finished file.
Common questions
Does the tool find the measurements by itself?
No. The editor does not estimate sizes from your photo. You enter the real measurement — from the product spec, a tape measure, or the listing data — and the tool draws and labels the arrow. That is what keeps the label trustworthy: the number on the image is your number.
Can one image show both centimeters and inches?
Yes. Enter the value in either unit and enable dual-unit display; the label shows the cm and inch values together, converted at exactly 1 inch = 2.54 cm. You can also switch the arrow's unit at any time and the label follows.
How many dimension arrows can I add?
As many as the image needs. Each arrow keeps its own value, unit, style, color, and label position, and each appears in the editor's arrow list so you can select and adjust them one by one.
Where do my images go?
Nowhere. The editor runs entirely in your browser — the photo is loaded locally, annotated locally, and exported locally. Nothing is uploaded to a server, and no signup is required.